Eclipse IDE
Windows
Installation for windows: The installation process is explained in this YouTube video. The following summaries the video:
- Install (or update) Java from https://java.com/en/download/
- Depending on the system one can install 32 bit of 64 bit Java. For 64 bit Windows architect both can be used. The important thing is that same architect should be chosen for MinGW, Java, and Eclipse. Java by default installs 32 bit option even on 64 bit Windows. There is a offline 64-bit download and installation option but I had not luck with that. Also, the use of 32 bit Eclipse is also preferred to 64 bit as suggested by different people. So, whether 32 bit or 64 bit Windows architect use 32 bit MinGW, Java, and Eclipse.
- Install MinGW.
- Install and set up Eclipse:
- Download “Eclipse IDE for C/C++ Developers” from https://eclipse.org/downloads/. As discussed it is suggested to use 32-bit option even on a 64-bit Windows. If not, make sure MinGW and Java are also 64-bit designs.
- Unzip the downloaded file and put the Eclipse folder inside “Program Files” directory (“Program Files (x86) for 64-bit Windows and 32 bit eclipse).
- Right-click on eclipse.exe and Pin it to Start Menu.
Eclipse setup
- Open eclipse executable either directly or from Start Menu (Windows)
- Under Windows (or other system tab for Mac, Linux) use Options
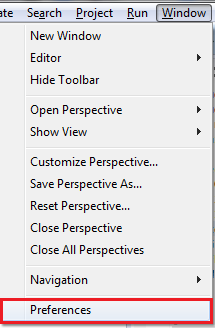 and make the following changes:
- Change default file formats so that they can be opened and edited on all platforms
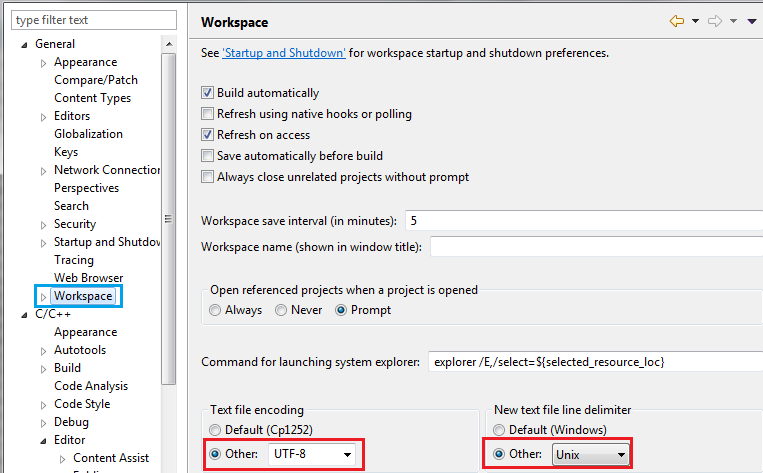
- Choose the default compiler for your system.
- (Windows) Important: If MinGW is not installed correctly of the bin directory is not added to the root (may require a restart) MinGW does not show up as one of the compilers. You need to fix that problem first.
- After choosing the compiler make it the preferred option by “Make toolchain(s) preferred”.
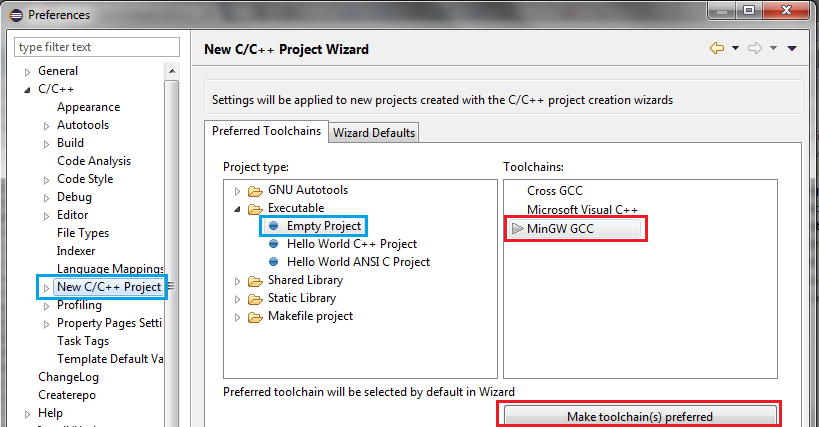
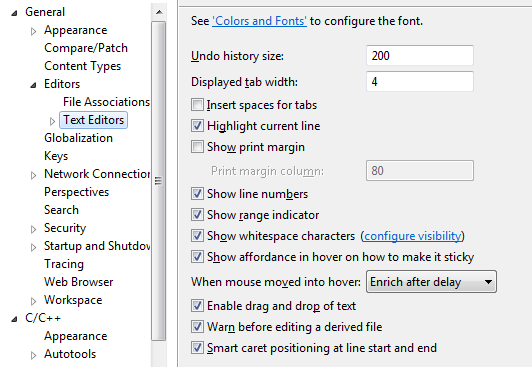
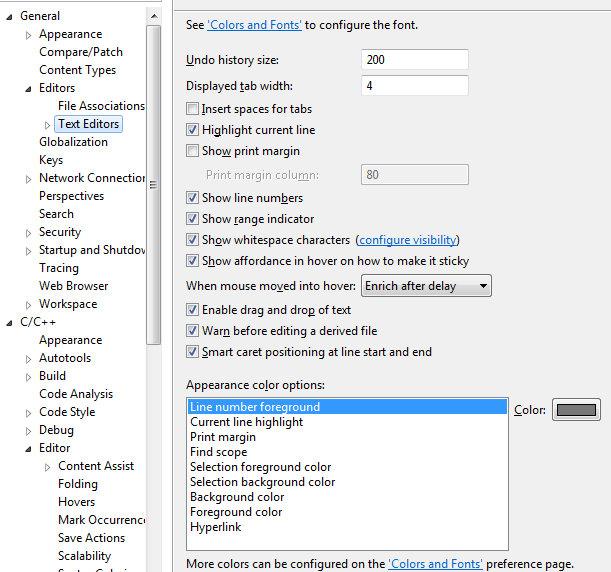
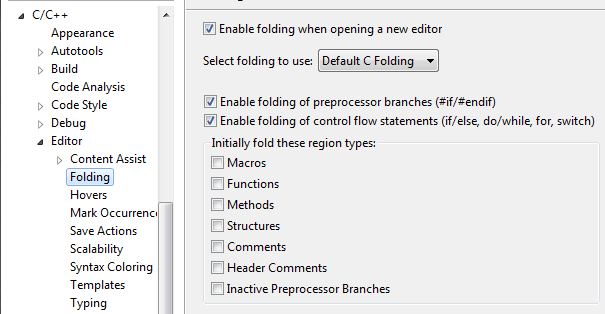
- For better editing and code writing experience make the following changes and at the end select OK on the lower right corner.
- Change default file formats so that they can be opened and edited on all platforms

